I often find myself strolling around our property and through my gardens. This is where I find peace, quiet, solace, and spend the majority of the time talking with God. It fills my heart and soul to watch these labors of love become something of beauty, especially in the spring when trees are just starting to bud. My tulips are blooming, bringing beautiful colors to the landscape, and my hostas are poking their pointy heads up. Like most of us, they are reaching through the darkness of the dirt in search of the promise of warmer weather and sunshine.
As I walk through the gardens, my heart is filled in other ways as well. I see trees from a Christmas past—planted with the help of the little hands of my boys—growing strong. There are plants, trees, shrubs, and rose bushes given as gifts from friends and family. As I stroll, I find myself being reminded of each person represented by those living gifts and lifting them in prayer.
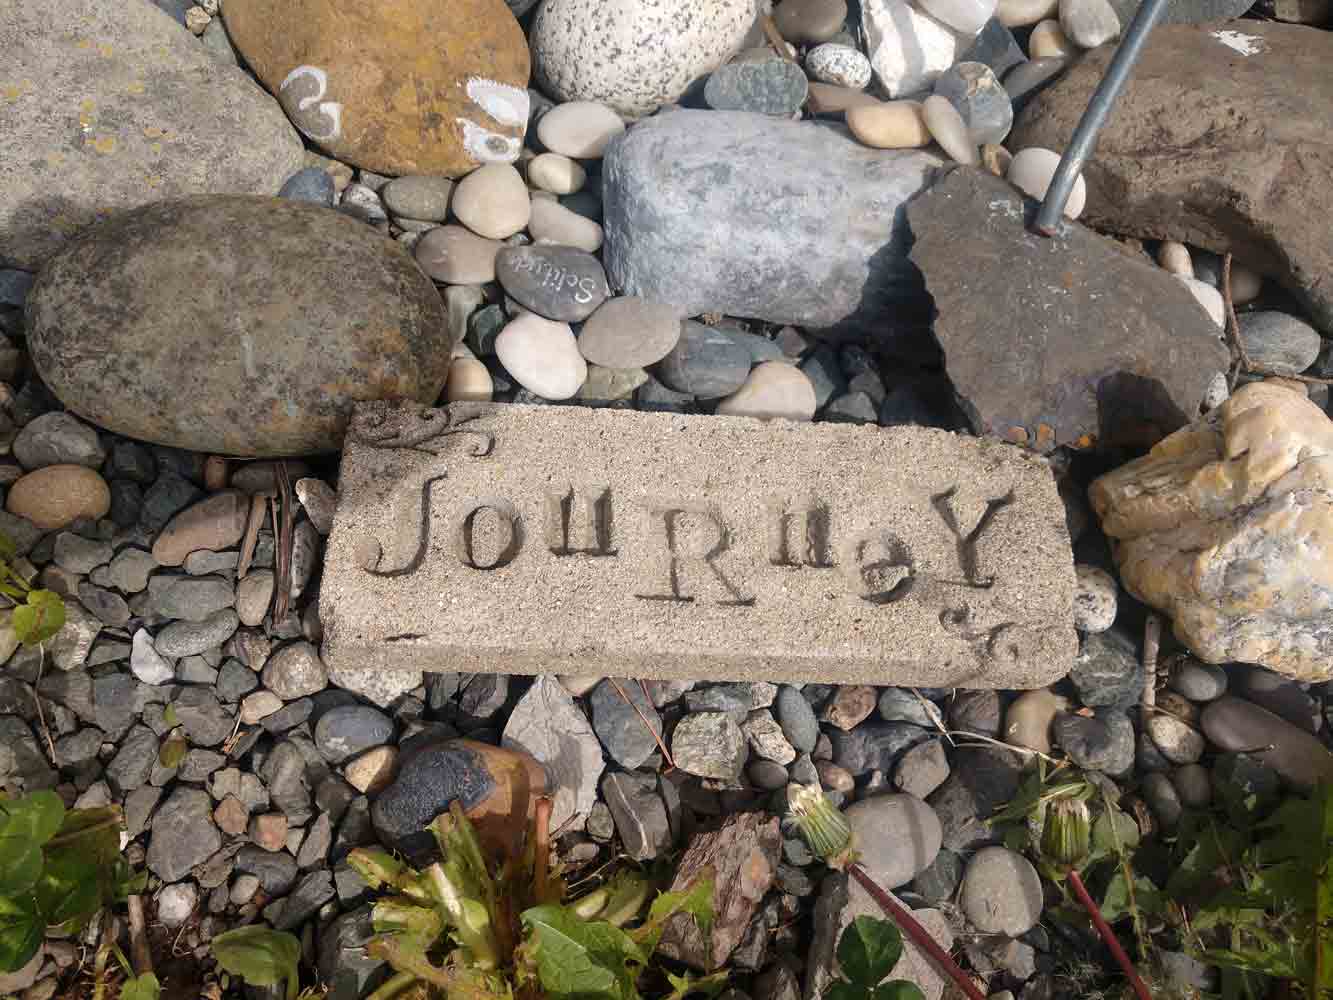
One of the most precious monuments in my garden are the stepping stones my children and I have made over the years. Some are the hand prints of my kids with the date, the hand prints of nieces and nephews, quotes and favorite sayings, pets’ names, and even leaf prints. One of them holds the shards of pottery from a beautiful and beloved, yet broken, coffee cup. I have also given these as wedding gifts with the name of the couple and the date of their wedding. We even made one for my friend after she lost her father. She had traced his hand before he died, so we took a copy of it, put it on cardboard and used it to make the imprint.
Seeing these in my garden and around my house brings back precious memories and smiles to my face and in my heart. Smiles and joy in the milestones and memories of life—that is what I want for you, my friend. This is such a fun project to do with the kids in your life, your friends, or even your book club. So, I thought I would share with you the simple and easy way I have made my stepping stones over the years.
First, you will need to gather your materials:

1. Concrete mix
2. A large bucket or wheelbarrow
3. Shovel or large paint stick for stirring (I have also used large wooden or metal spoons purchased at the dollar store.)
4. Mold forms. I have used everything from old pizza boxes, disposable pans, and even shaped cake pans purchased at thrift stores. Just keep in mind that whatever your mold, it should be at least an inch thick for sturdiness. You can even use a pair of rubber gloves filled with cement. Molds are also available for purchase in various craft stores or online.
5. Decorative stones, broken pottery, leaves, or children’s hands and feet. You can also purchase plastic letter stamps specifically for making stepping stones.
6. A tarp or painter’s plastic sheeting
7. Cooking spray
8. Concrete sealer (optional)
If you are planning on making several stones at one time you can use a bag of mix. Sometimes, though, I make only one at a time so I buy a resealable bucket of Quikrete mix. Both options can be found at your local Home Depot or Lowe’s.
A word of caution: this is an outside project, so don’t try doing it on your great grandmother’s dining room table.
Now, let’s get this party started….
1. Lay your tarp or painter’s plastic on a flat surface (outside). If you have a folding table or a piece of plywood and a couple of sawhorses, that would work great. Otherwise the ground will do.
2. Set up your molds and spray them well with cooking oil.
3. Dump your bag of concrete mix into a wheelbarrow if you are making a batch of stepping stones, or some of the dry mix from the resealable bucket into your mixing container if you’re only making a couple.
4. Add water. This part can be tricky. You want your mix to be the consistency of mud, like the pies you made when you were little. So I add just a little at a time stirring it in well.

6. Alright here is where you get creative…embrace it and let it flow. Press the materials of your choosing onto the mix.
7. Once you have made all your stones, it’s time for clean-up. Make sure you thoroughly wash your tools with a hose, as you don’t want any concrete to harden on them.
Now is the hard part—waiting patiently for them to cure. I have to admit, this part is pretty tough for me.
It will take about 48 hours for them to dry enough to be removed from their molds. If you chose to use sealer, you will use a small paintbrush to apply, following the directions on the can. Personally, I like to use the sealer to make them a little shinier. If you plan on using them as true stepping stones give them about a week before you walk on them. I must say that most of mine are scattered throughout my gardens as decorations. Although a few of the leaf molds have made their way inside to be use as soap holders.

Most of all, have fun getting a little gritty and show yourself a little grace by remembering that they don’t have to be perfect to be beautiful.
—
If you’re in a season of reflection, you’ll enjoy this podcast episode: How to Embrace Love in Every Season With Debra Fileta – 123


